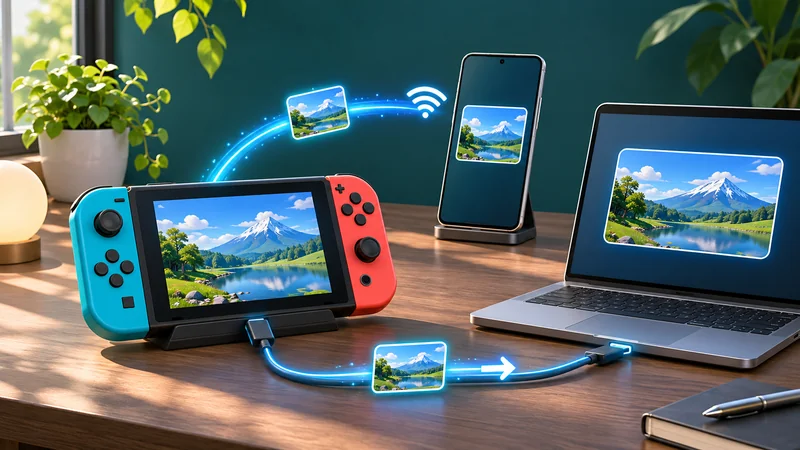
To transfer Switch screenshots, first identify your console and destination. The original Nintendo Switch family has an Album-to-smartphone wireless process and a USB-to-computer option. Switch 2 has its own documented USB workflow and Nintendo Switch App features, so copying instructions between models can send you to the wrong menu.
A capture is not a saved game. Moving a picture of your victory does not back up the campaign that produced it. This guide focuses on images and video clips, with a verification step before you remove any original files.
1. Choose how to transfer Switch screenshots
Start with three details: console model, phone or computer, and whether you need a few favorites or a larger collection. A short note such as “Switch OLED, Android phone, three pictures” is enough to choose the relevant instructions.
For the original Switch, Switch Lite and OLED family, Nintendo documents wireless smartphone sharing. For a larger transfer to a compatible computer, a data-capable USB cable offers another route. Neither workflow requires you to upload captures to a public social feed first.
Do not confuse screenshots with software installations or save-data transfers. If your actual aim is to move game ownership or account access, stop and use the relevant support instructions instead.
2. Use Album for original Switch phone sharing
According to Nintendo’s wireless-transfer guide, open Album, select the capture, then Sharing and Editing → Send to Smartphone. Choose an individual item or a batch and follow the console’s displayed QR-code prompts with your phone camera. Menu wording can differ by region.
Nintendo lists a limit of up to ten screenshots and one video capture for wireless transfers, and notes that some software does not support sharing. Start with one image to establish that the connection works before trying a bigger selection.
Keep the console’s transfer screen available until you finish. Seeing a preview on the phone is not yet the same as confirming a saved file in the location where you want to keep it.
3. Troubleshoot the connection, not your whole account
If QR connection fails, Nintendo’s wireless troubleshooting page points to Trouble connecting? or the + button. The console can display the connection information needed for manual Wi-Fi setup; its password changes each session.
Nintendo also suggests temporarily turning off mobile data if the phone will not switch to the console’s access point. Restore your usual connection afterward. This is a specific connection check, not a reason to disable account security or reset the console.
Keep that session’s network details private. Someone helping you diagnose a failed transfer usually needs your model and the stage where it stops, not a photo exposing passwords or personal notifications.
4. Use a data cable for the original Switch PC route
Nintendo’s USB-transfer instructions use System Settings → Data Management → Manage Screenshots and Videos → Copy to a Computer via USB Connection. Connect the cable directly to the console’s bottom USB-C connector, not a USB port on the dock.
The cable must support data, not only charging. Nintendo documents Windows support and the need for Media Transfer Protocol compatibility on other systems. It does not guarantee third-party MTP software. Avoid installing an unfamiliar “transfer fixer” simply because a charging cable is not exposing files.
The USB process does not have the wireless batch limit. Once the computer exposes the captures, copy the items you want to a clearly named folder. Computer-side steps vary, so follow what your actual file manager displays.
5. Follow the Switch 2 instructions if that is your model
To transfer Switch screenshots from a Switch 2 by cable, Nintendo documents System Settings → Data Management → Manage Screenshots and Videos → Copy to PC via USB Connection. The Switch 2 USB guide again calls for a data cable, an MTP-compatible computer and a direct console connection rather than a dock USB port.
For phone access, the Nintendo Switch App overview identifies capture viewing and sharing as a Switch 2 feature. Do not assume the original Switch uploads its Album through that same feature.
Nintendo says only the latest 100 uploaded captures from the last 30 days can be viewed in the app. Its download instructions explain using the app’s Album, selecting files and choosing Save. Treat that temporary availability as a reason to keep your own verified copies, not as permanent archival storage.
6. Verify files after you transfer Switch screenshots
After you transfer Switch screenshots, open a destination file outside the transfer preview. Check that it is the intended image. For a video, play it and confirm the important moment is present. A thumbnail alone is a weak backup check.
Use a folder name that helps you find the captures later, such as the game and session date. If you edit or crop an image, save an edited copy separately so the original remains available.
Only consider deleting console captures after you have checked the destination and, for anything important, another backup. This guide does not require deletion. If a transfer is incomplete, preserving the source gives you another chance.
7. Review what you are about to share
Before posting publicly, check player names, chat, friend codes and anything visible around the game. Ask the people involved before sharing private conversations. Choose the intended audience rather than accepting an app’s first sharing suggestion automatically.
For a PC recording instead of a console capture, our Steam Game Recording guide covers a different workflow. For playing together across devices, see our Minecraft crossplay guide; moving media does not establish crossplay or shared saves.
Transfer Switch screenshots: common questions
Does copying a screenshot transfer game progress?
No. Captures and save data are separate. Use the game’s and console’s save-data guidance for progress.
Will any USB charging cable work?
Not necessarily. Nintendo requires a cable capable of data transfer for the USB method.
Should you delete originals as soon as thumbnails appear?
No. Open and verify the saved files first. Keep the originals if there is any doubt.
Nintendo support sources checked November 11, 2026. Menu labels and app features may change. The cover is an AI-generated editorial illustration, not an actual console interface. No hands-on transfer or device-compatibility test is claimed.